Monday 6 July 2015

The Frame

A Few Repairs

Fortunately, using the Rupert Ratio frame checking method, the frame proved to be straight. However, a few minor repairs were still necessary.

The bike is a single seater and should not have rear foot rests. In a previous post I showed how some foot rests had been crudely welded on to the swing arm. These were cut off and the remaining weld was carefully ground away.
Non Standard Fitments.


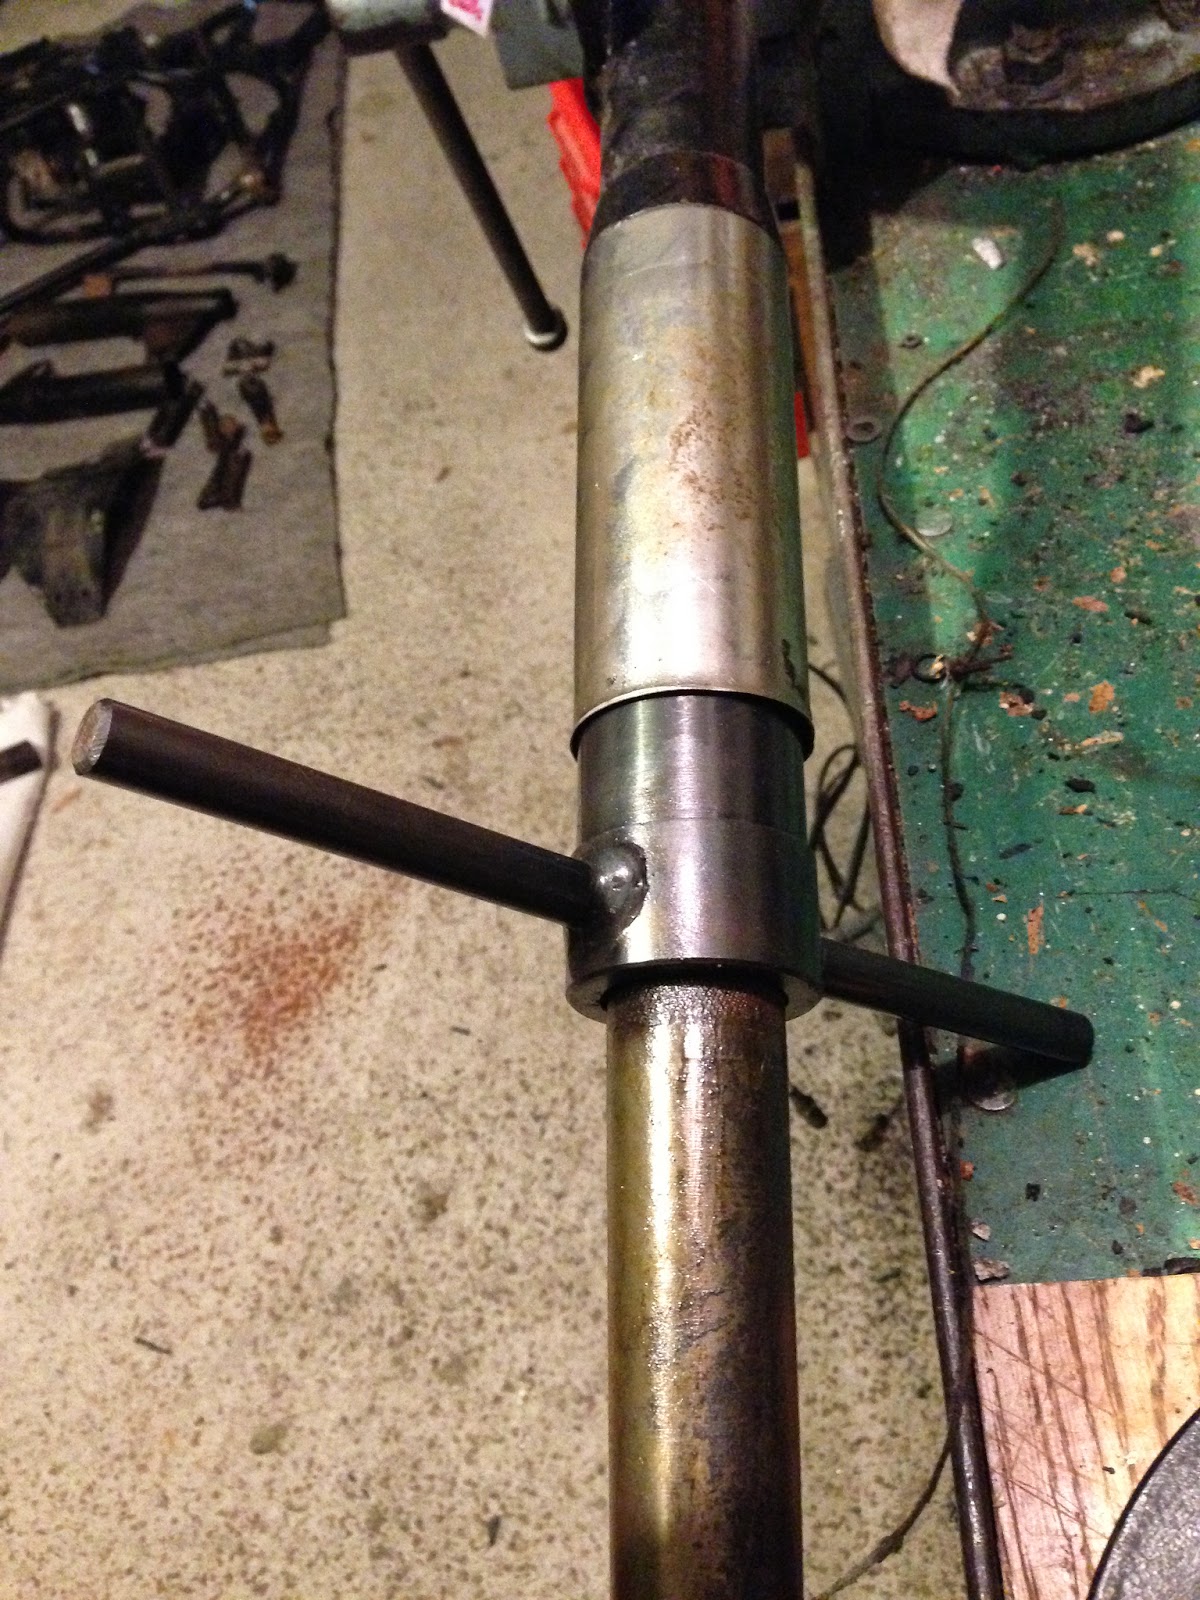
The swing arm repair can be seen here.

The frame itself had a broken weld where the rear brake pedal bush had come away from the frame. This manifested itself in a sloppy rear brake pedal. A quick trip to a local metal fabrication specialist had it better than new.

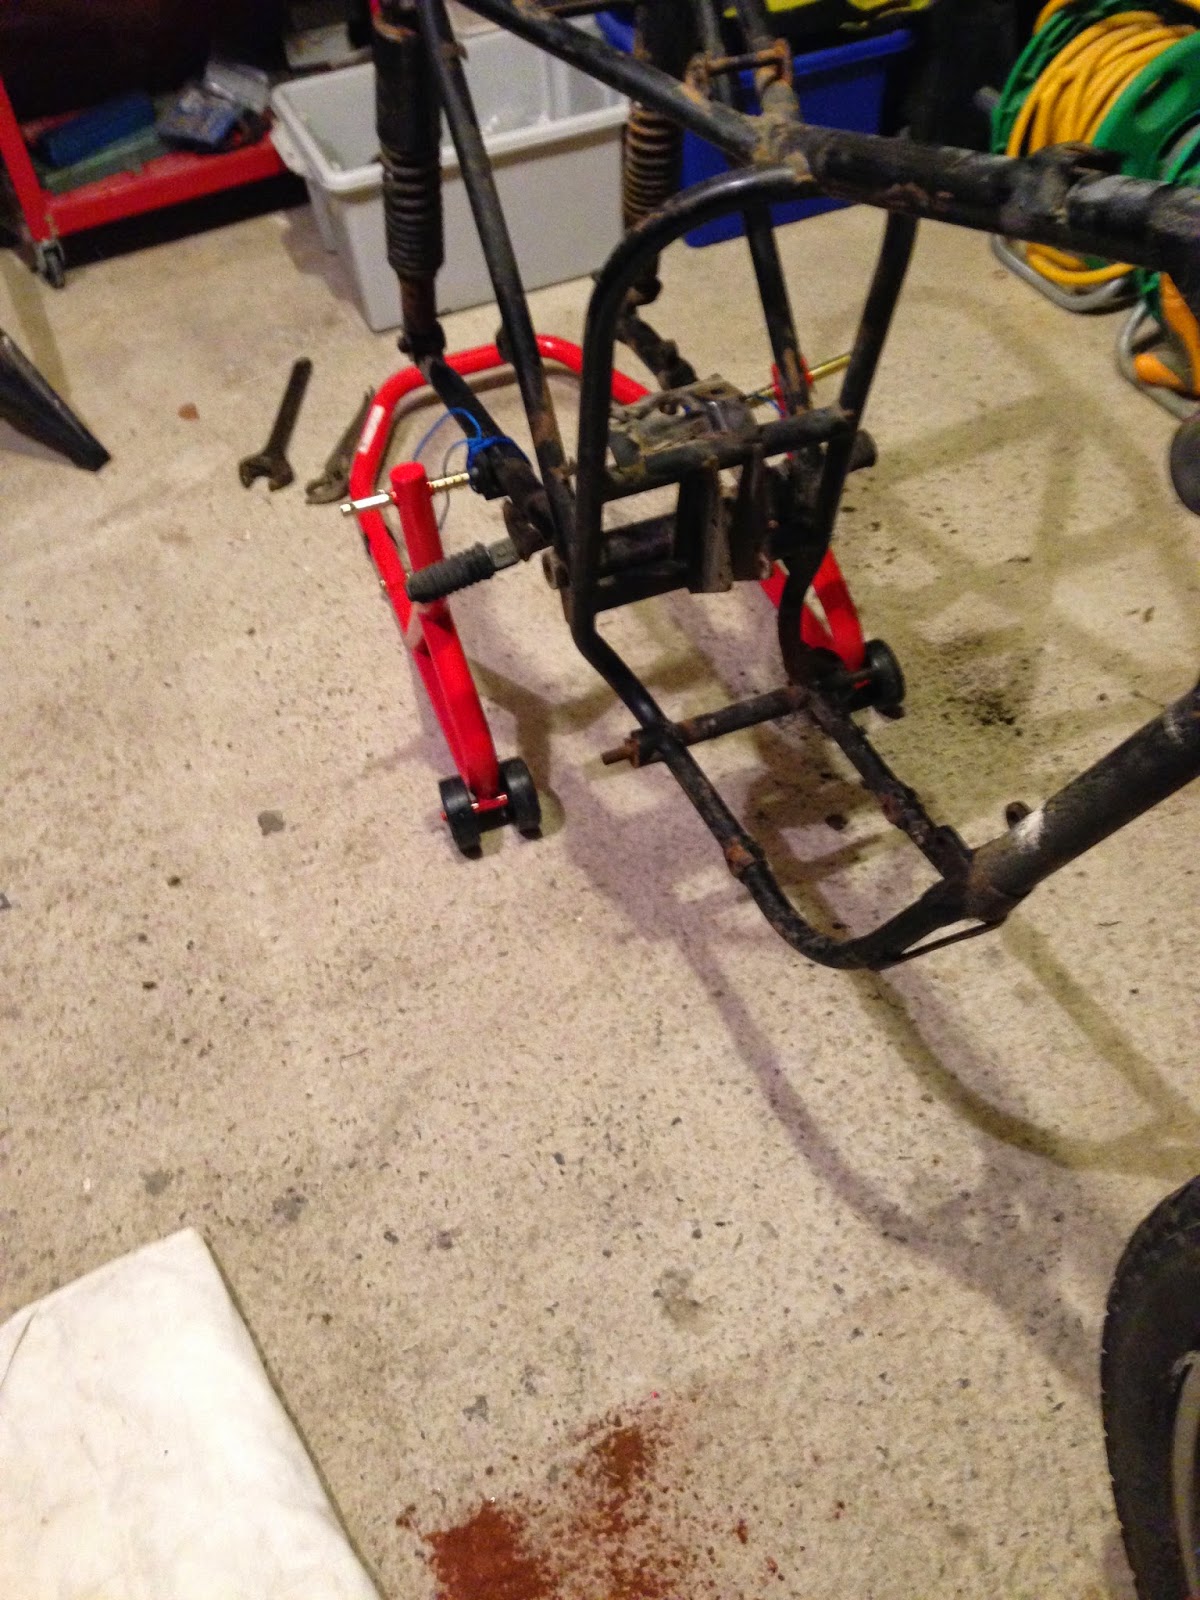
A Simple Frame Stand


Before starting the frame preparation (see below) I decided that the frame should be supported in some way. I decided to construct a simple frame stand using a Black & Decker Workmate. This involved fabricating two alloy brackets and bolting them to the Workmate using the predrilled holes. By positioning the brackets in line with the foot peg studs on the frame the Workmate can be adjusted to secure the frame firmly with the alloy preventing any thread damage.

Makeshift Clamp

Alloy Brackets Attached to the Workmate

Painting

With the frame repaired it was time to start the preparation for painting. I decided that I would do this by hand rather than sand blasting as the frame was in reasonably good condition. It has always been my intention to spray the cycle parts with a cellulose paint rather than applying a powder coat finish.

Manually preparing the frame turned out to be very challenging indeed an soaked up many hours of effort. However, the results have been worth it and a few pounds have been saved along the way.

It was interesting to see just how simple the original paint finish was, it appeared to be a single coat of black painted directly onto the bare metal. Its hard to criticise this though as 49 years later it is still in fairly good condition.

Start of the Preparation

The frame was prepared in stages and at each stage the prepared area was immediately spayed with a metal primer.

A Coat of Primer to Protect the Frame
Once the frame preparation is complete, the primer will be rubbed back and recoated before applying the topcoat and lacquer.


Once the frame is complete, the remaining cycle parts will be tackled.


Saturday 14 February 2015

Front Forks

After my ordeal with the rear suspension, I started the task of stripping and inspecting the front forks. The forks had already been removed from the bike during the initial teardown. However, it was time to take things a little further.

The first task was to remove the chrome oil seal holders. For this a special tool is required. I have heard of people using all manner of implements to try and perform this task, however, these were extremely tight and I would recommend purchasing the special wrench.


Once the oil seal holders are off, it is a simple job to remove the stanchions and get to the bushes.


 A few cir-clips later and the whole front suspension is ready for cleaning and new bushes.

Ready for Cleaning
New Bushes and Ball Bearings


Swing Arm Bushes

You may remember from my last post that I was left feeling disappointed that the swing arm bearings would not come out. It seems that this is a common problem and that expert advice suggested that some ingenuity was required.


I was to be replacing the bearings and the swing arm pivot pin which gave me plenty of scope in terms of the old one. So the first thing I did was cut through the pin on each side of the swing arm with a suitably curved hacksaw blade and transfer the arm to the bench.


Once on the bench all attempts to remove the pin and bearing by the usual methods of pushing, pulling, swearing etc failed. It is particularly tricky challenge as the bearing is effectively fitted to a blind tube and can only really be pulled out. In my case the bearing had bonded itself to the swing arm.

By passing a hacksaw through the hollow pin, I was able to cut through the wall of the pin and the inner sleeve of the bearing. This allowed, with much effort, the pin and sleeve to collapse and be separated from the rubber section. Eventually all of the silent block rubber could be cut away leaving the thin outer sleeve firmly attached to the swing arm.

Although not obvious, protective jaws were
used to grip the swing arm.
The outer sleeve had to be removed with a cold chisel. 


Here it is several hours later, removed.


Sunday 21 December 2014

A Few Disappointments.

Things have slowed down with Christmas approaching, however, it is time to start looking at the paperwork. The bike was imported to the UK from the USA in November this year and includes the usual Notification Of Vehicles Arriving submission (NOVA). The NOVA should allow me to register the vehicle with the DVLA here in the UK. In order to get an age related number, i.e. a registration number from 1966, I have to prove the vehicles age. This can be done through the Vintage Motor Cycle Club by sending rubbings and photographs of the frame and engine numbers, naturally these have been sent off for verification and I am looking forward to hearing soon.

Having dispensed with the formal paperwork, for now at least, I was left with one document to deal with. In the bottom of one of the cardboard boxes that the bike was supplied in, was a receipt from 1985 for some suspension parts and bushes. This seemed like an opportunity to gain some knowledge of the bike's history.


I checked out the phonebook for the town these were delivered to and there it was, the recipient of these components still living in the same street. A short trawl of Facebook and I was able to contact the previous owner, however, despite trying every member of the family, no one replied. Then, looking closer at the receipt and checking the part numbers, I can see that the items are for Norton Altas forks, my BSA doesn't have Atlas forks so I am probably on a wild goose chase, which is a tad disappointing to say the least.

Back to the bike. Having stripped the frame right down, I am left with a seized swing arm pin meaning that I cannot easily remove the swing arm. Options include 'brute force' and my favoured approach of 'nice and easy'.

By loosening the nut on the end of pin and placing the swing arm under tension with a large clamp, I simply kept applying copious amounts of penetrating oil and additional pressure each day until the arm started to move. On day three I found the clamp on the floor. The seized swing arm had moved under the pressure, brilliant! However, a few moments later with the realisation that it was the Solent Block bushes that had moved within the frame rather than the swing arm pivoting about the pin, I was left disappointed again.

I have now managed to locate and order a new BSA pin and bushes from a company in Austria. These should be with me soon, giving me the brute force option which simply means hacksawing through the bush and pin at each side of the swing arm.

The third disappointment came when I noticed the external engine casing sitting on my bench, it looked to be warped, offering it up to the engine confirmed this. The image below shows the casing sat on a piece of plate glass and it is clearly warped. The second image shows the casing offered up to the engine and confirms the worst. The only saving grace is that the engine casing on this model did not have the timing inspection cover whereas most other models had this improvement. Therefore I have two options, get this machined or get another casing with the inspection cover. I may even do both as part of me wants to keep this original as far as I can, Disappointing though.


Monday 24 November 2014

Day One

With the Bike safely home is is time to start the strip down and inventory. Armed with a Parts Book and a set of Whitworth spanners the bike is carefully stripped, bagged and boxed.

The bike is cosmetically quite poor but everything, as far as I can tell, is original. The tinware has had a couple of professionally implemented repairs and, whilst the paintwork is poor, the general condition is very good.

The bike was imported to the UK from the USA. One interesting thing is that in the bottom of a cardboard box containing the remnants of the gearbox, was a receipt from 1985 for some suspension bushes. The receipt may be nothing to do with the bike but the address of the person ordering the bushes was Siloam Springs in Arkansas. An added task to my list is to trawl Facebook and start asking around, some history of the bike would be wonderful.

The swinging arm has a some rear foot peg brackets welded to it, further supported by Jubilee clips. It's a poor job, and won't take much to remove them once I remember who I lent my angle grinder to.

Draining the front suspension of oil turned out to be fruitless as the forks were full of water, although, to be honest, I thought Arkansas was a dry place. Clearly new bushes and seals needed throughout.

Although the engine has not yet been stripped, it looks to be in pretty good condition. For now I have simply mounted it in the engine stand ready for attention later on in the restoration.


In terms of the frame and cycle parts, these will be painted using a cellulose paint system. I did consider a high quality powder coating but feel that a decent professional paint finish would be more appropriate for the bike.

As for the petrol tank, this will need some serious professional work. For now I will give it a decent polish and see what can be done later in the restoration.


Sunday 16 November 2014

The Starting Point

This is what it would have looked like in 1966, although discussion is still underway as to whether my bike should have a polished tank i.e. no yellow paint. Rupert Ratio and the brochures of the time don't quite agree.


The pictures below were taken from moments after completing the purchase. This represents the starting point.